
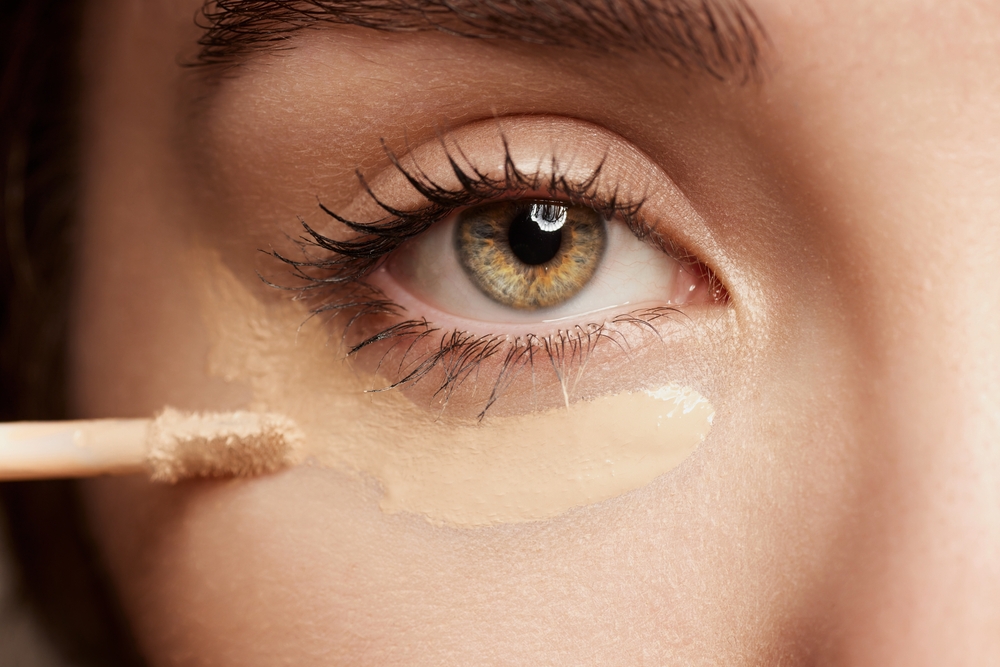
Picture this: you blend your concealer to airbrushed perfection at 8 a.m. By noon, it has settled into every line under your eyes like it’s paying rent there. Sound familiar? You’re in excellent company. Makeup creases under eyes are one of the most common beauty gripes out there, and they have very little to do with your skill level.
The good news: it’s fixable. The better news: you don’t need a 12-step routine or a second mortgage. You need a smarter game plan. Here’s how to keep your under-eye area smooth from morning coffee to last call.
Why Makeup Creases Under Eyes (Spoiler: It’s Not Your Fault)
The skin under your eyes is thin and constantly moving. You blink roughly 15 times a minute, squint at screens, and laugh at your own jokes. Any product sitting there has to flex with all that action.
Creasing usually comes down to a few culprits:
- Too much product piled on
- Formulas that are too heavy or too dry
- Skipping prep (or over-prepping)
- A heavy hand with powder
- Not letting layers settle before adding the next one
Fix those five and you’ve fixed most of the problem. Let’s go step by step.
Step 1: Prep Like You Mean It
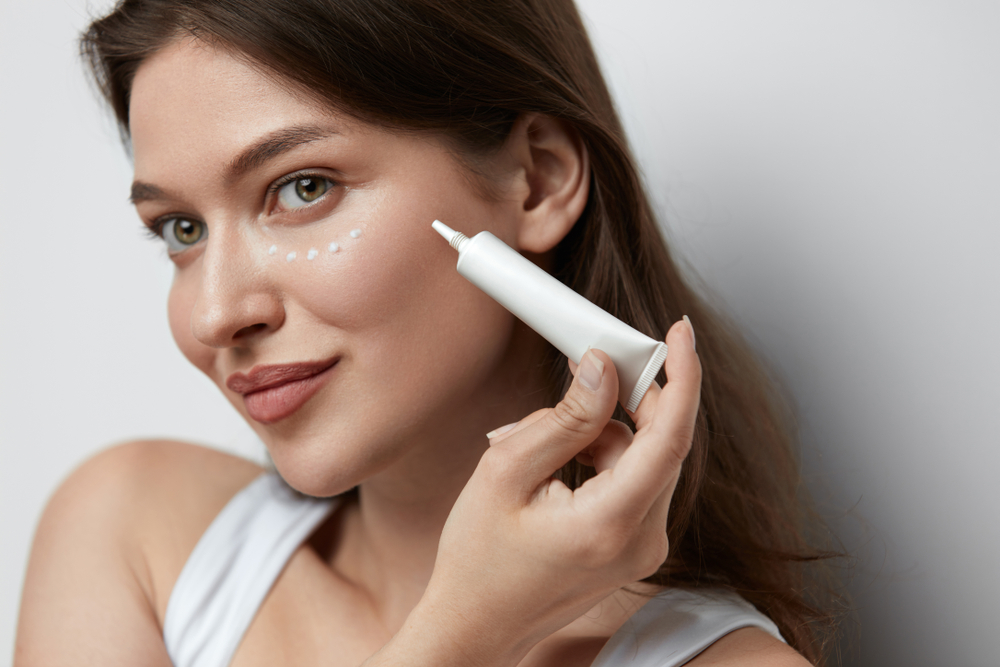
Think of your under-eye area as a canvas. A bone-dry canvas makes concealer cling to every bit of texture. A slippery, greasy one makes it slide right off and pool in the folds.
The sweet spot is hydrated but not slick.
Use a small amount of a lightweight eye cream or gel, then wait a few minutes. Really wait. Scroll, sip, stare into the void.
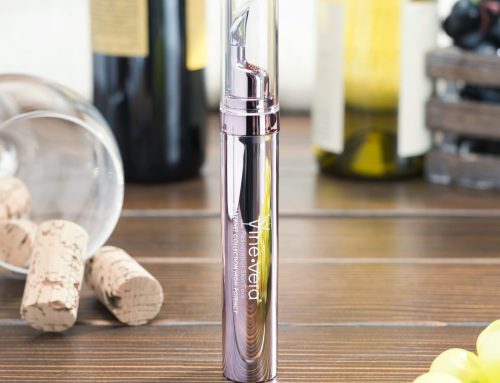
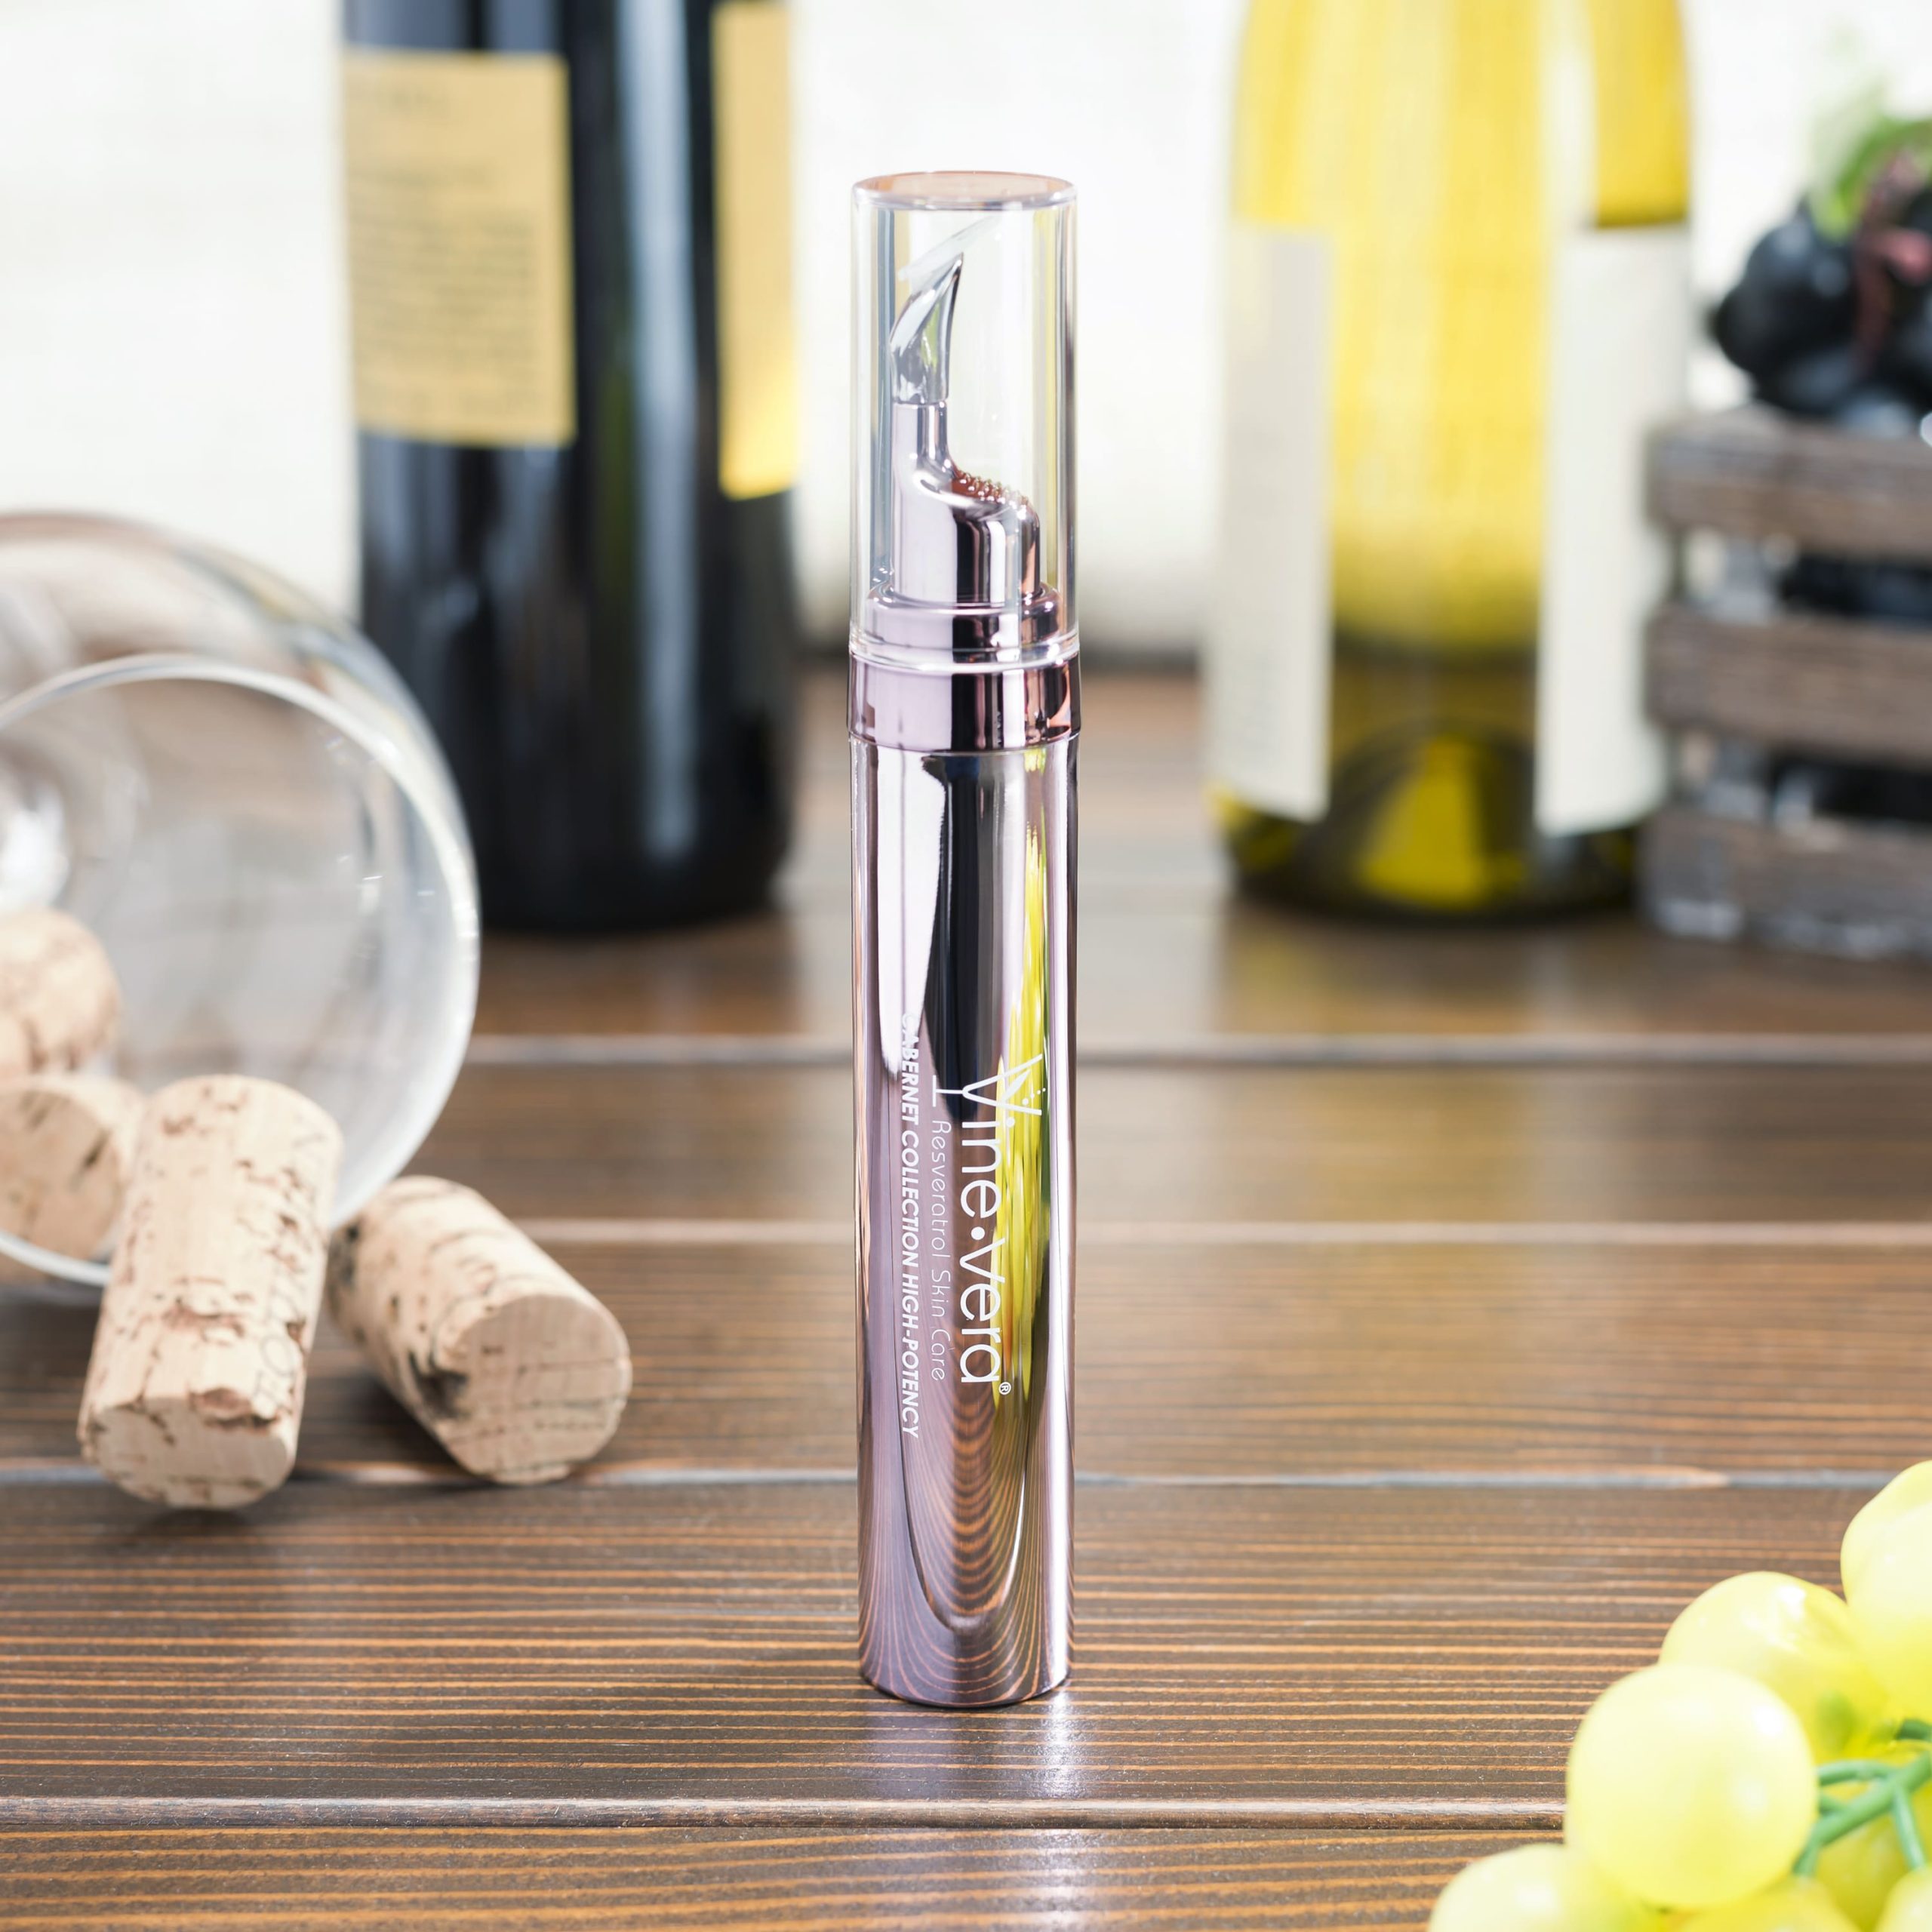
Your product choice matters here too. Whether you’re layering luxury skincare or a drugstore staple, rich and oily textures can keep makeup from gripping. Some people like to tap on a targeted eye solution before concealer, then let it fully absorb.
Pro tip: Press a clean fingertip lightly over the area to lift any leftover slickness before you start.
Step 2: Use Less Concealer (Yes, Really)
Here’s the tough love: most of us use twice the concealer we need. A thick layer has nowhere to go but into your lines.
Try this instead:
- Place a few small dots, not a big swipe
- Focus on the inner corner and the darkest spots
- Tap to blend with a damp sponge or fingertip
- Build in thin layers only if you need to
Skip the giant triangle unless you’re going full red-carpet. Sheer coverage that moves with your face always looks fresher than a heavy mask.
Step 3: Choose Formulas That Flex Under Your Eyes
Not every concealer belongs under your eyes. Matte, full-coverage formulas are fantastic for blemishes and notorious for makeup creases under eyes.
Look for:
- Liquid or cream formulas with a satin or natural finish
- Lightweight, flexible textures that feel skin-like
- A shade that’s no more than one step brighter than your foundation
That last point matters. A shade that’s too light spotlights texture instead of hiding it.
Shade matching is genuinely tricky, and plenty of shoppers now use AI-powered shade matching to narrow down their undertone before buying. It’s no substitute for swatching in daylight, but it’s a handy starting point.
Step 4: Set Smart, Not Heavy

Powder is the plot twist in the creasing story. Too much, and you get a cakey, textured finish. Too little, and your concealer wanders off by lunchtime.
The fix is precision:
- Use a small, fluffy brush or a damp mini sponge
- Press a sheer amount of finely milled powder only where needed
- Go easy on the lines themselves, since they grab powder
- Finish with a light mist of setting spray
And baking? It can be great for photos and long nights out. For everyday wear, a light hand wins. If you do bake, brush away the excess thoroughly. Then brush again. Then once more for luck.
Timing helps, too. Let your concealer sit for 30 to 60 seconds before setting so it tacks up a bit first.
Step 5: Work With Your Expression Lines
Let’s be honest: expression lines exist, and makeup will always interact with them. That’s just how faces work. Instead of fighting them, work with them.
Some beauty fans experiment with serums that plump away the visibility of wrinkles for a temporary smoothing look before makeup. Prices vary wildly, so read honest reviews before you commit.
Whatever you use, stay gentle. No tugging, no rubbing, no dragging brushes across the skin.
Also, go easy on shimmer and glitter under the eyes. Sparkle loves to highlight texture, and it will happily do so in unflattering lighting.
Mistakes That Sabotage Your Makeup Setup
Even seasoned makeup lovers fall into these traps:
- Applying concealer over damp skincare. Wait until it’s fully absorbed.
- Layering thick foundation first. Concealer then piles up on top of it.
- Using a dense brush. It deposits too much product in one go.
- Powdering immediately. Give the concealer a moment to settle.
- Over-blending. Rubbing removes product and disturbs the layers underneath.
Sound like your routine? No shame. Pick one habit to change this week and see what happens.
The Midday Rescue Kit
Even with flawless application, life happens. Here’s how to fix a crease without starting over:
- Press (don’t rub) with a clean fingertip to warm and smooth the product
- Blot with a tissue if things look oily
- Dab a tiny bit of concealer only on the crease, then blend
- Skip extra powder unless you truly need it
Stash a mini kit in your bag with a tiny brush, a compact, and a blotting tissue. It’s the same principle behind smart desk-to-dinner swaps: small, strategic tweaks beat a full do-over every time.
Quick Troubleshooting Cheat Sheet for Makeup Creases Under Eyes
Not sure what went wrong? Match your symptom to the likely cause:
- Creasing within an hour: too much product, or not enough set time
- Cakey, dry look: too much powder, so mist and press with a damp sponge
- Patchy texture: your prep needed more hydration
- Concealer sliding around: your prep was too rich, so blot before applying
- Persistent makeup creases under eyes even after tweaking technique: try a different formula before blaming yourself
The Bottom Line
Stopping makeup creases under eyes really comes down to five habits: prep lightly, use less product, choose flexible formulas, set with precision, and touch up gently.
Master those and your under-eyes will stay smooth, bright, and camera-ready, whether you’re headed to a Monday meeting or a Saturday night out.
Want more no-nonsense beauty tips and honest product talk? Browse Amore Classic for the latest posts, and tell us in the comments which trick finally saved your concealer.



Leave A Comment