
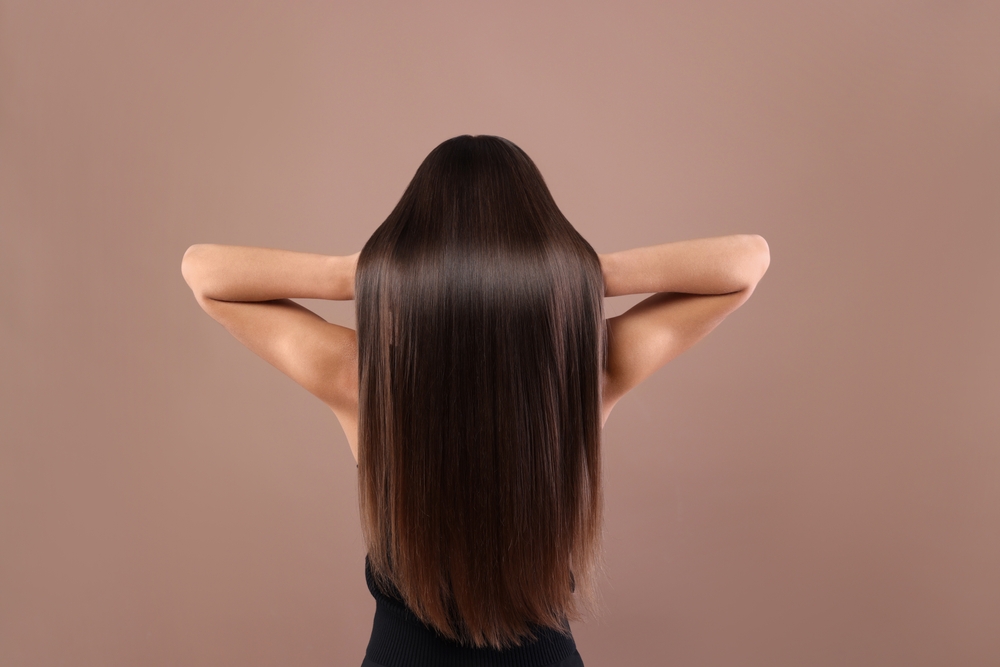
Somewhere between “my hair looks dull” and “I refuse to pay $150 at a salon to fix it,” a beautiful little category was born: the DIY gloss. If your strands have been giving more “hay bale” than “hair campaign,” a hair gloss treatment at home might be the fastest glow-up you’re not doing yet.
No bleach. No ammonia. No sitting in a salon chair pretending to enjoy small talk with a stranger holding scissors. Just shiny, glass-like hair, achieved on your bathroom floor in under an hour. Let’s get into it.
Wait, What Even is a Gloss?
A gloss is not a dye. It’s not a toner, either, though the internet loves to use those words like they’re interchangeable (they are not, and hairstylists everywhere are tired).
Here’s the cheat sheet:
- Dye changes your color, permanently, with chemicals that open the hair cuticle.
- Toner cancels out brassy or yellow tones, usually after color or highlights.
- Gloss coats the hair shaft in a thin, shine-boosting layer — sometimes with a hint of tint, often with none at all.
Think of gloss as a topcoat for your color, not a repaint job. It’s cosmetic, temporary, and low-commitment — which is exactly why it’s having a moment.
Do You Actually Need This?
Quick gut check. You’re a good candidate for a gloss if:
- Your color looks flat, faded, or “meh” a few weeks after your last salon visit
- Your ends look thirstier than a houseplant you forgot about
- You want a mirror-shine finish for a big event, minus the commitment of dye
- Heat styling (hi, flat irons) has left your hair looking a little roughed up
If your hair is more “structurally concerned” — think breakage, chemical damage, or an actual scalp issue — talk to a stylist before layering more product on top. Gloss is a finishing touch, not a fix-it-all.
What You’ll Need for a Hair Gloss Treatment at Home
You don’t need a cart full of salon-exclusive products to pull this off. Here’s your starter kit:
- A clarifying shampoo — strip away buildup so the gloss actually absorbs instead of sliding off a layer of dry shampoo and old product
- A gloss or glossing mask — drugstore, prestige, or DIY (more on that below)
- A wide-tooth comb — for even distribution, because clumpy gloss is nobody’s dream
- Gloves — unless you’re into stained fingertips
- A shower cap or plastic wrap — heat + time = better absorption
- A shine serum — your finishing move, post-rinse
If your hair leans dry or color-treated, this is also a great moment to lean on a deeply hydrating hair mask beforehand, since gloss performs best on hair that isn’t already parched.
The Step-by-Step
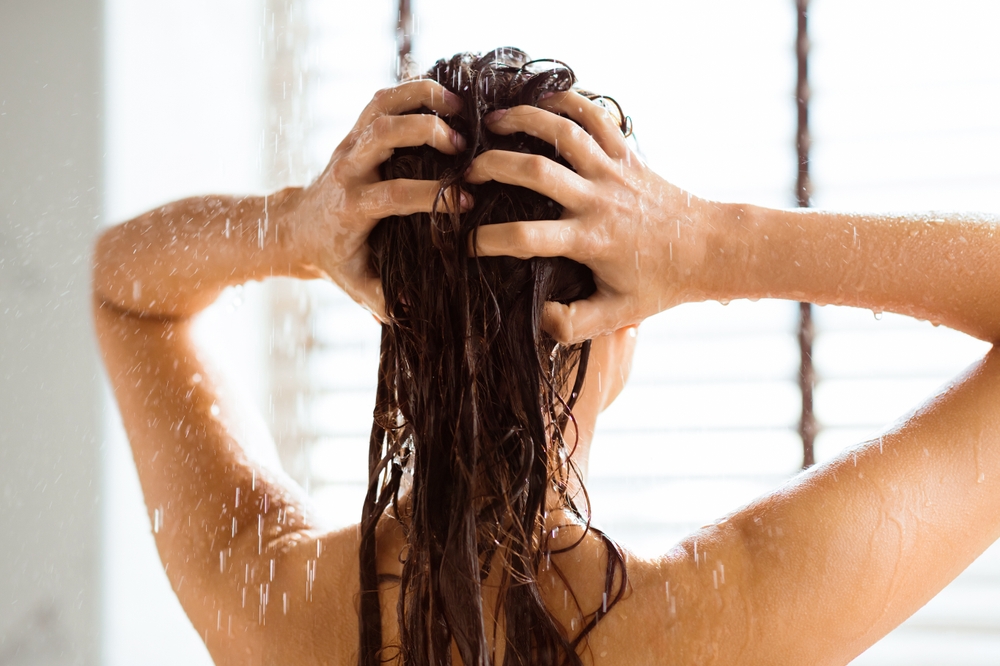
Step 1: Start clean, not stripped. Wash with a clarifying shampoo to remove buildup, but skip the heavy conditioner — you want the hair shaft a little “open” so the gloss can actually do its job.
Step 2: Section and apply. Divide hair into four sections. Apply the gloss from root to tip (unless the label says otherwise — always read your specific product’s instructions), using a comb to distribute it evenly. Uneven application is the #1 reason people end up with patchy shine.
Step 3: Let it sit. Pop on a shower cap. Most glosses need 10–20 minutes, and a little gentle heat (a warm towel, or sitting near a heat vent) can help it absorb more evenly.
Step 4: Rinse until the water runs clear. This part matters more than people think. Leftover product = dull, waxy-looking hair, which defeats the entire point.
Step 5: Seal the deal. Follow with a cool rinse to help flatten the cuticle (this is what actually creates shine, not magic), then apply a lightweight, glossy hair serum while hair is still damp.
Step 6: Style as usual. Air dry, blow dry, or work your way through a few wavy styles with a flat iron — but keep in mind that smooth, sleek styles tend to show off gloss results best.
The Mistakes That Ruin a Perfectly Good Gloss
- Skipping the clarifying wash. Product buildup is the arch-nemesis of shine.
- Overlapping too much on already-processed ends. This can lead to uneven color pickup and, ironically, less shine where you need it most.
- Rinsing in scalding hot water. Heat opens the cuticle back up, undoing the very thing you just did.
- Using too much gloss. More product does not equal more shine — it equals a longer rinse and potential buildup.
- Skipping a patch test on a first-time product. Always a good five minutes spent, even for “gentle” formulas.
How Long Does It Actually Last?
Most gloss treatments last 2 to 6 washes, depending on your hair’s porosity and how hot your showers run (hot water is basically a “please fade faster” request to your hair). Fine or color-treated hair tends to hold gloss longer than coarse or resistant strands.
To stretch the results, wash less frequently, use cooler water, and reach for a gentle, sulfate-free shampoo and conditioner between treatments.
When to DIY vs. When to Call a Pro
A hair gloss treatment at home is ideal for maintenance, touch-ups, and general shine-chasing. But if you’re dealing with major brassiness, uneven color from a box dye situation gone sideways, or hair that’s had a rough year of bleach, a professional gloss (applied alongside actual color correction) is worth the splurge.
For everyone else? Your bathroom counter is basically a salon now.
The Bottom Line
A gloss won’t fix damaged hair, and it’s not a substitute for a trim or a proper deep-conditioning routine — but as a low-effort, high-impact shine hack, a hair gloss treatment at home genuinely delivers. It’s the hair equivalent of a good highlighter: subtle, glow-boosting, and shockingly effective for the effort involved.
Pair it with a smooth, sleek style, keep a couple of tried-and-tested finishing serums on standby, and you’ve basically got salon hair without the salon receipt.


Leave A Comment